Today, I want to discuss a simple way of achieving a film look. What I am talking about is editing. You spend zero dollars, take pictures with whatever lens you please, and I will give some tips on how to make your photos into something special. People do not always consider how much of a difference editing can make. It really can change everything, though. I will be taking photos that I never even liked at all previously and make them into something I love, and I hope you will, too. I will look at a few different styles from different time periods and go through the motions on how I chose to edit them. In all of these, I will be using the Darkroom editor, and I would highly recommend this to anyone. It really is so much better than even basic editors on an iPhone or laptop and is totally worth it. On a laptop Darkroom will ask for a subscription if you aren’t only using its basic features. An iPhone allows a lot more capabilities but the basic features on the laptop will make do for what I am going to be doing.
Find your own style
One thing to remember before looking at my examples is that everyone has their own preferences. What I am showing you is so much based on my preference and what I looking to illustrate in my photos. If you love what I have done I highly encourage you to completely copy the whole look but I would also encourage you to find your own route if you feel the need to be creative. I will show you exactly how to do it my way and I hope it will encourage you to practice that and maybe eventually have a unique perspective. There are so many different eras of film photos and it helps to find a time zone and pick a certain time zone that you love. Maybe it’s black and white film or soft color film from the late 1900s. Either way people will be see what you are going for and hopefully see a story you are trying to tell through the photo.
Editing the photos
Now for the fun part. I am going to show you some photos that I was just okay with in the beginning and ended up loving after putting them through this process. Don’t take everything I say as a solid step by step process. Every photo needs different things so some of it is going to be up to you. If you’ve got an eye for it it’ll turn out great.
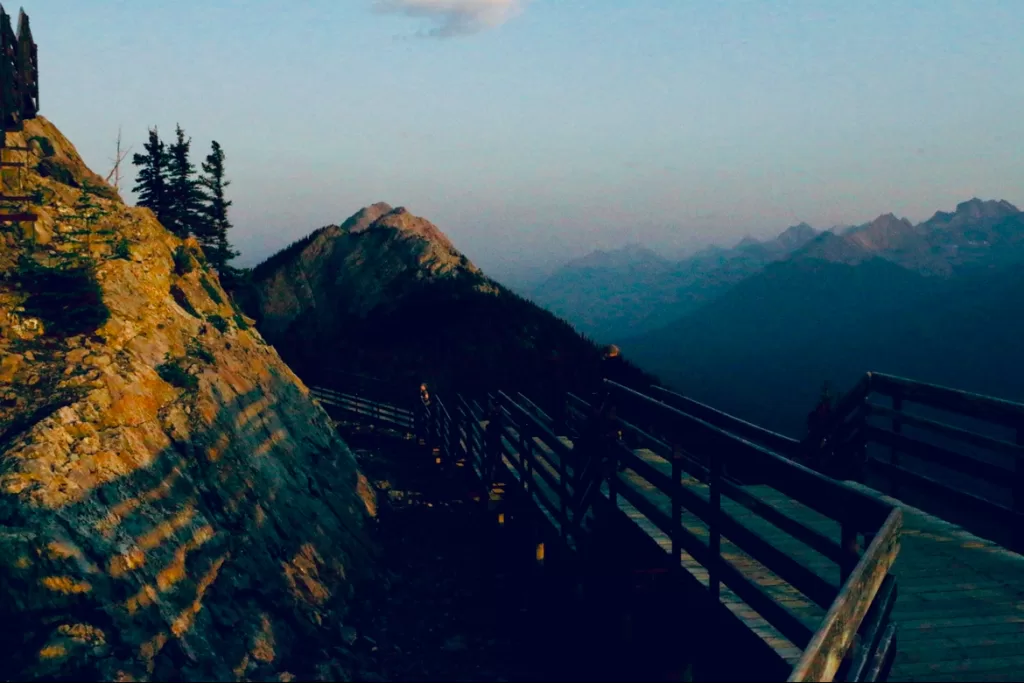
In this first photo when I didn’t like it before I mean it. The sky is all washed out the colors are pretty terrible. It was honestly pretty disappointing because I was given such a wonderful scene with an amazing opportunity to include three figures (my brothers) perfectly in the bottom left corner. Everything besides the colors really, were textbook great photography. So here is the picture I was so disappointed in:
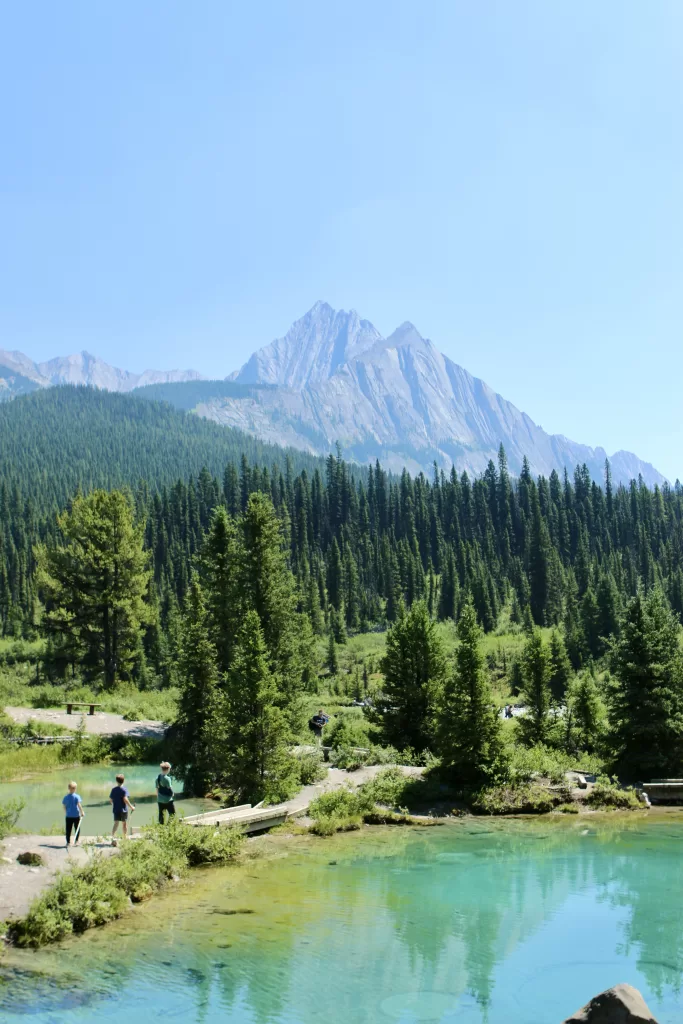
Okay, so as you can see, it is an amazing scene, but the colors are not great, and it is hard to get what you want out of these forest scenes.
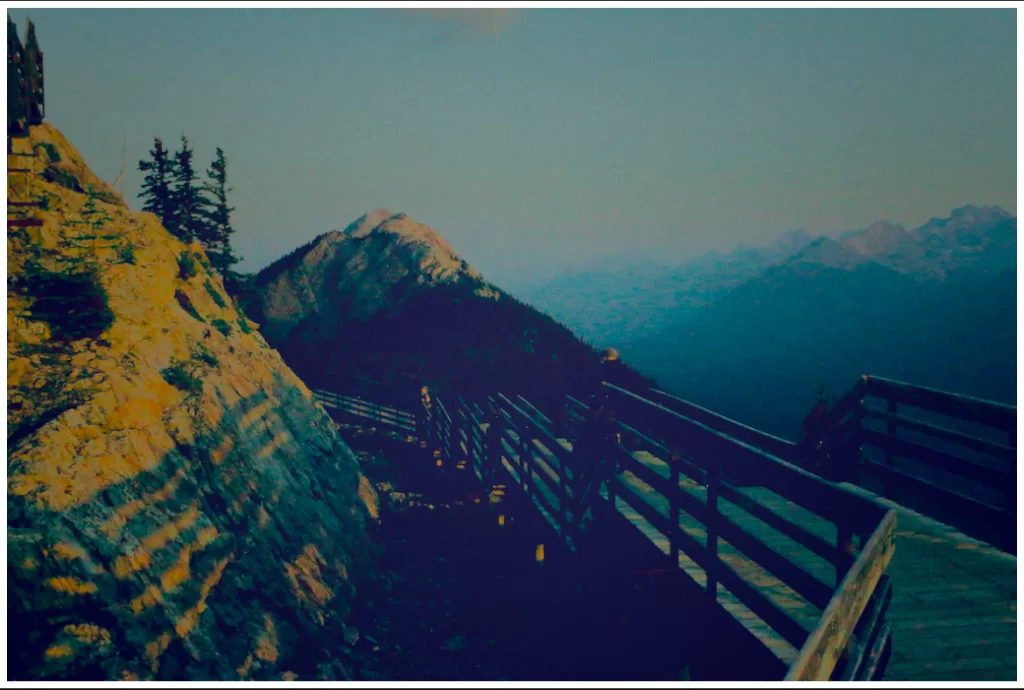
My edited photo became something I never thought the original one could become. Makes me super happy to see it and has a very strong resemblance of old times. Here it is:
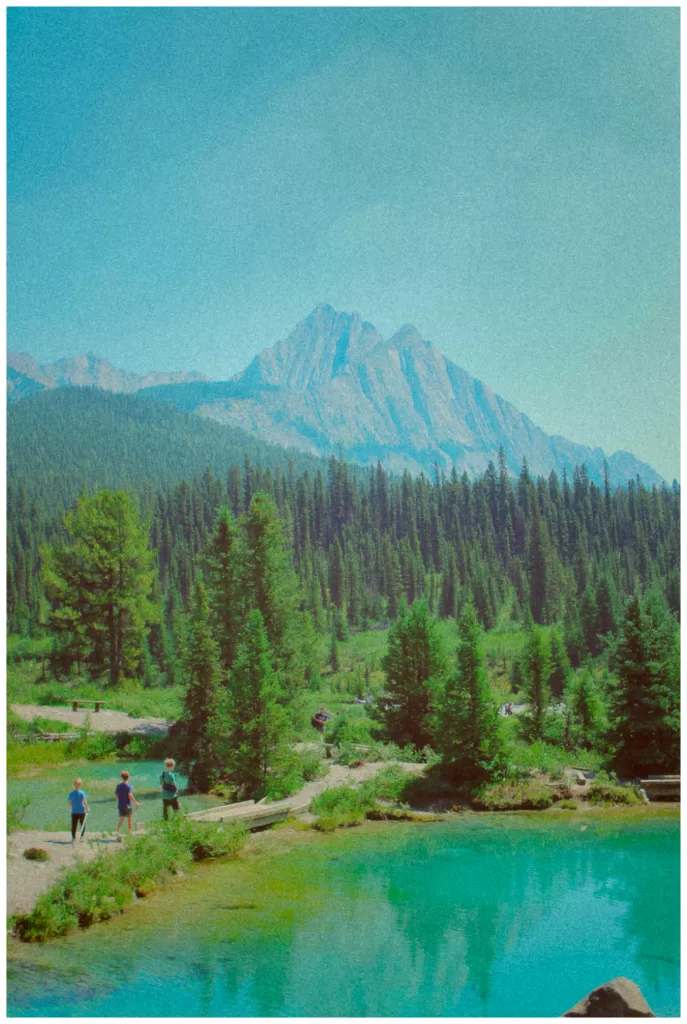
I could go on and on about this photo and it has been sitting in my camera roll for a long time with no attention at all.
I am going to go through some basic motions on how I edited these in a little bit, but first, I am gonna show some more before and afters of some of the photos edited in this style.
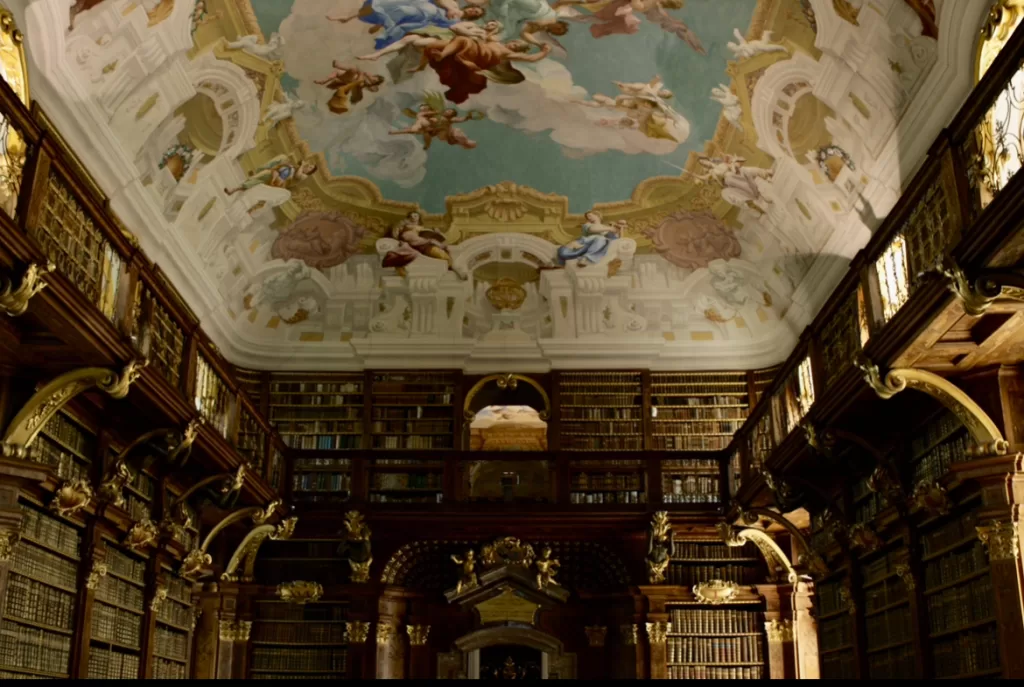
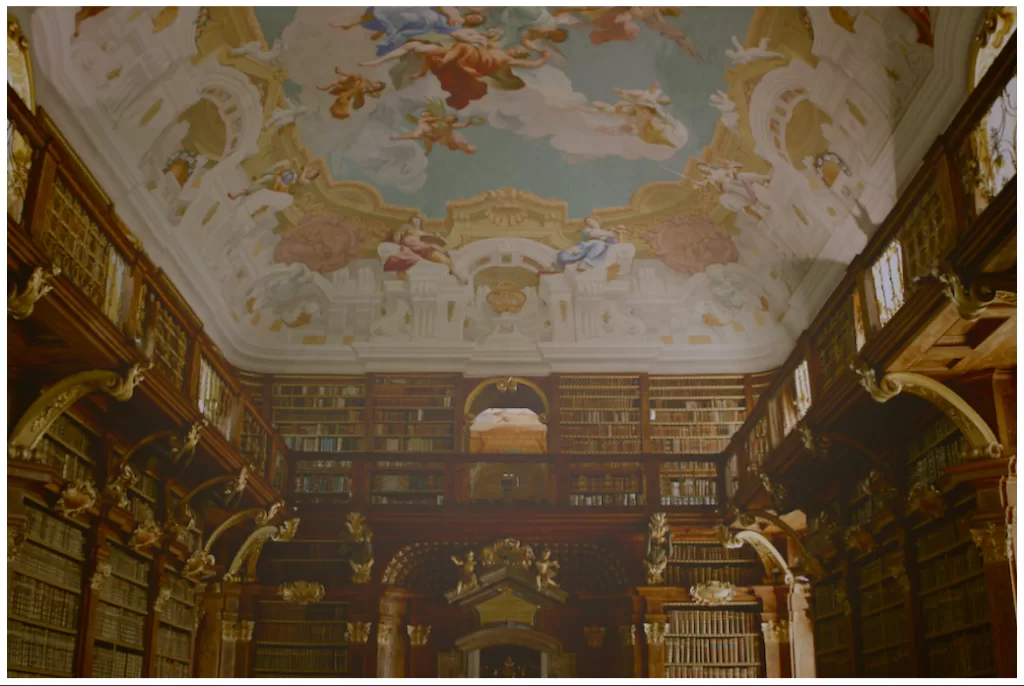
I already really liked this photo, but being an old library and all, I think it’s pretty cool this way.
Obviously, as I said before, a lot of editing is a preference. It is okay if people think that the unedited is better than the edited because it is all up to you and your style. I also wanted to point out the white frame around the edited ones. I think it kind of sets them apart and gives them a nice, unique, older look. Apologies if the image quality is not showing up the way the photo really is, the quality really is very high but gets spotty on a website.
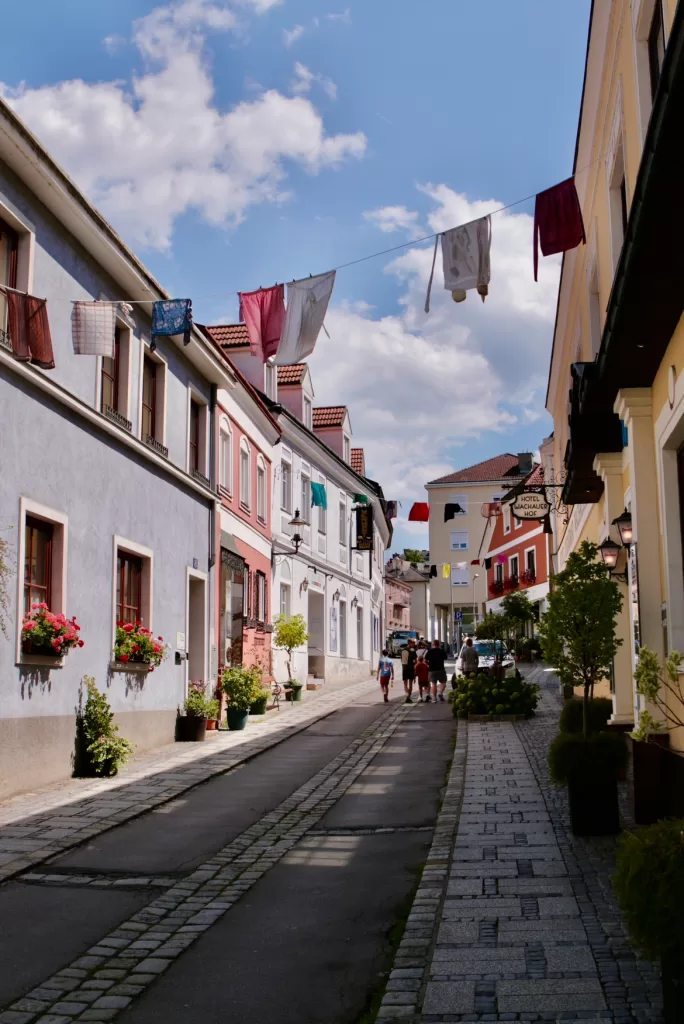
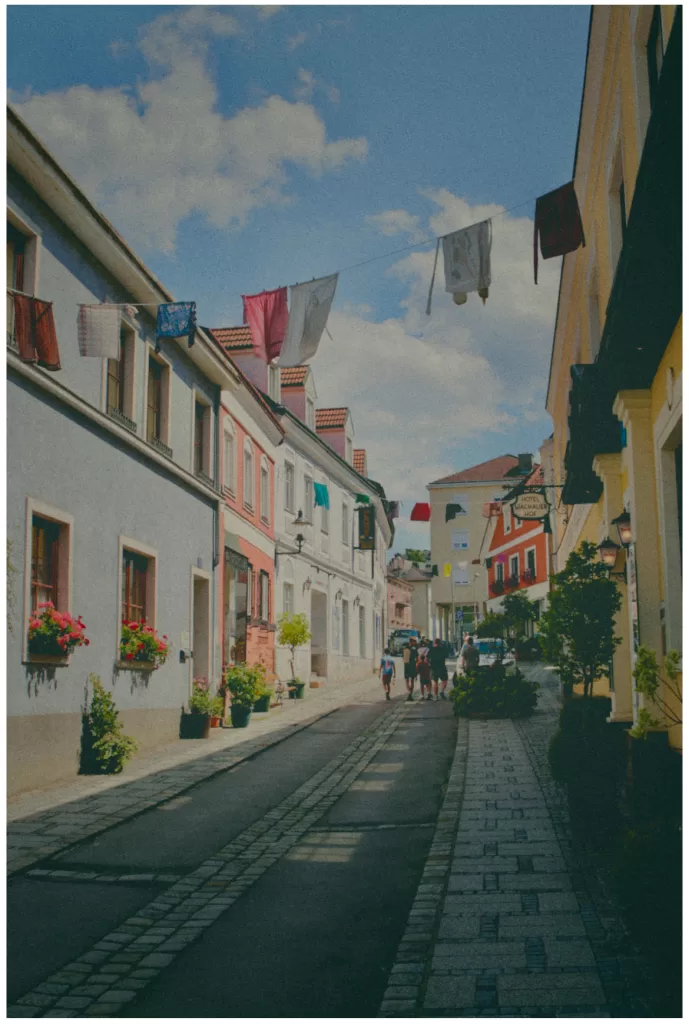
In both of these outdoor pictures, I want to point out the way the sky looks. This was one of the most recognizable changes. We went from a white sort of washed-out sky to a perfect blue, which really totally transformed the photo.
Editing steps
Here I am going to show a general idea of the steps I took to edit these photos with this last example photo.
Make sure you are using Darkroom:
Brightness: 30
Contrast: -18
Highlights: -91
Whites: -32
Blacks: 5
Saturation: 24
Temperature: 34
Fade: 30
Grain: 30
Final photo:
I love the way this one turned out. Just remember that you can’t just apply the edits I just listed to any photo. You have to make new adjustments depending on the lighting in every photo. I will say the things that really stay pretty constant with this kind of style is a lower contrast, low highlights, low whites, high fade, and if you like it, high grain. Once again remember all of this is total preference. Just make sure you don’t look at it as a bunch of rules because it’s not. Find your own look, take note of those tips, and I hope you will find them useful.
Thanks for reading, Trip